
AlmaLinux9にサーバのリソースを監視し、その情報をグラフ化してくれる「Munin」を入れてサーバのリソース使用状況をモニタリングする方法です。
Muninで生成されたグラフはWebインターフェイスを通し表示されるためWebサーバも必要になります。
今回はWebサーバとして「Nginx」を使用しています。
MuninをWebサーバで公開する際のセキュリティ対策について
「Munin」のサーバーをインターネットに公開する場合は、Webサーバー(Nginx)のHTTPS化やBasic認証などのセキュリティ対策を施すことが推奨されます。
しかし、今回の手順は「Munin」の動作確認を目的としているため、これらの設定は行わず最もシンプルな構成でWebサーバー(Nginx)の設定を行っています。
そのため、インターネット上のDNSには「Munin」サーバーのホスト名を登録せず、クライアントの「/etc/hosts」ファイルにのみ登録することで、インターネットからサーバー名でアクセスできないように制限しています。
クライアントとしてWindows 11を使用している場合は、「C:\Windows\System32\drivers\etc\hosts」にホスト名を設定してください。
「Munin」の設定が問題なく完了した後に、https化やBasic認証を行う予定です。
80番ポートの開放
Webサーバで使用する80番ポートへのアクセスを許可する設定をファイアウォールに行っていきます。
$ sudo su -
# firewall-cmd --permanent --add-service=http
# firewall-cmd --reload
Nginxインストール
「Nginx」のサイトで配布しているリポジトリを使用してインストールを行います。
リポジトリ追加
「Nginx」のリポジトリを作成します。
# vi /etc/yum.repos.d/nginx.repo
設定するリポジトリの内容は下記のとおりです。
[nginx-stable]
name=nginx stable repo
baseurl=http://nginx.org/packages/centos/$releasever/$basearch/
gpgcheck=1
enabled=1
gpgkey=https://nginx.org/keys/nginx_signing.key
module_hotfixes=true

[nginx-mainline]
name=nginx mainline repo
baseurl=http://nginx.org/packages/mainline/centos/$releasever/$basearch/
gpgcheck=1
enabled=0
gpgkey=https://nginx.org/keys/nginx_signing.key
module_hotfixes=true
作成したリポジトリ内にある「nginx-mainline」を有効化します。
# dnf -y install dnf-utils
# dnf config-manager --set-enable nginx-mainline
インストール
「dnf」を使って「Nginx」をインストールします。
# dnf -y install nginx
「Nginx」の設定は「Munin」のインストール後に行います。
Munin インストール
今回インストールする「Munin」関連パッケージの説明です。
- munin munin-nodeから情報を収集してhtmlやグラフを作成
- munin-node サーバの情報を収集
- munin-nginx MuninをNginxで使用する際に必要
EPELリポジトリのインストールとCRBリポジトリの有効化
「Munin」をインストールするために必要な「EPEL」リポジトリのインストールと、「EPEL」リポジトリの前提条件となる「CRB」リポジトリの有効化を行います。
# dnf -y install epel-release
# dnf config-manager --set-enable crb
Munin関連のパッケージインストール
「Munin」+ 「Nginx」の環境を構築するために必要な「munin」「munin-node」「munin-nginx」をインストールします。
# dnf -y install --enablerepo=epel munin munin-node munin-nginx
muninの設定
「munin」の設定が記述されている「/etc/munin/munin.conf」というファイルもあるのですが、最初の部分に下記のような記述されているので、指示通り「/etc/munin/munin-conf.d/local.conf」に設定を追加しています。
Please don't edit this example config file. Create and edit
file /etc/munin/munin-conf.d/local.conf instead.
# cd /etc/munin/munin-conf.d/
# cp -p local.conf local.conf_$(date "+%Y%m%d_%H%M%S")
# vi local.conf
今回は「Munin」のグラフやhtmlの作成をCGIで行いたいので、以下の設定を追加していきます。
- graph_strategy cgi
- html_strategy cgi
- cgiurl_graph /munin/graph
実際の設定例は下記のようになります。
[localhost]の部分は初期状態で設定されているので、それ以外の赤字部分の設定を追加しています。
# Example host tree with localhost node. Configure your nodes here.

graph_strategy cgi
html_strategy cgi
cgiurl_graph /munin/graph

[localhost]
    address 127.0.0.1
    use_node_name yes
muninの定期データ収集設定
「systemd」のtimer機能を使って、「munin-node」から情報を5分ごとに取得する設定を行います。
# systemctl enable --now munin.timer
Created symlink /etc/systemd/system/timers.target.wants/munin.timer → /usr/lib/systemd/system/munin.timer.
munin-node起動・自動起動設定
「munin-node」は初期設定で同じサーバ(localhost)にインストールされている「munin」からの通信を許可する設定がされているので、そのまま起動と自動起動の設定を行います。
# systemctl enable --now munin-node.service
Created symlink /etc/systemd/system/multi-user.target.wants/munin-node.service → /usr/lib/systemd/system/munin-node.service.
fcgiwrapインストール
「Nginx」でCGIを使用できるようにするために必要な「fcgiwrap」をインストールします。
# dnf -y install --enablerepo=epel fcgiwrap
munin用ソケット作成
「Munin」のグラフとhtmlをCGIで作成するために必要なソケットの作成と、サーバ起動時にソケットを自動的に作成する設定を行います。
# systemctl enable --now munin-cgi-html.socket
Created symlink /etc/systemd/system/sockets.target.wants/munin-cgi-html.socket → /usr/lib/systemd/system/munin-cgi-html.socket.

# systemctl enable --now munin-cgi-graph.socket
Created symlink /etc/systemd/system/sockets.target.wants/munin-cgi-graph.socket → /usr/lib/systemd/system/munin-cgi-graph.socket.
ソケットは「/var/run/munin/」に「munin-cgi-graph.sock」「munin-cgi-html.sock」という名前で作成されます。
# ls -l /var/run/munin/
total 4
srw-rw---- 1 nginx munin 0 Dec 13 12:03 munin-cgi-graph.sock
srw-rw---- 1 nginx munin 0 Dec 13 12:03 munin-cgi-html.sock
-rw-r--r-- 1 root  root  4 Dec 13 12:03 munin-node.pid
Nginx設定
「Nginx」を使って「Munin」のグラフをCGIで動的に作成するための設定例が「/usr/share/doc/munin-common/nginx_cgi_graphs.conf」に用意されているので、それを使って設定ファイルを作成します。
# cd /etc/nginx/conf.d
# cp -p /usr/share/doc/munin-common/nginx_cgi_graphs.conf munin.conf
# vi munin.conf
設定内容
「server_name」の部分に「Munin」のサーバ名を設定します。
今回の手順であれば、クライアントの「hosts」ファイルに登録した「Munin」サーバのホスト名を設定することになります。
下記は設定例にあるコメント部分を省略しています。
server {
    listen      80;
    server_name サーバ名;
    root        /var/www/html/munin;

    location /munin/static/ {
        alias   /etc/munin/static/;
    }

    location /munin/graph/ {
        include                 fastcgi_params;
        fastcgi_split_path_info ^(/munin/graph)(.*);
        fastcgi_param           PATH_INFO $fastcgi_path_info;
        fastcgi_pass            unix:/var/run/munin/munin-cgi-graph.sock;
    }

    location /munin/ {
        include                 fastcgi_params;
        fastcgi_split_path_info ^(/munin)(.*);
        fastcgi_param           PATH_INFO $fastcgi_path_info;
        fastcgi_pass            unix:/var/run/munin/munin-cgi-html.sock;
    }
}
Nginx起動・自動起動設定
「Nginx」の設定が完了しましたら起動と自動起動の設定を行います。
# systemctl enable --now nginx
Created symlink /etc/systemd/system/multi-user.target.wants/nginx.service → /usr/lib/systemd/system/nginx.service.
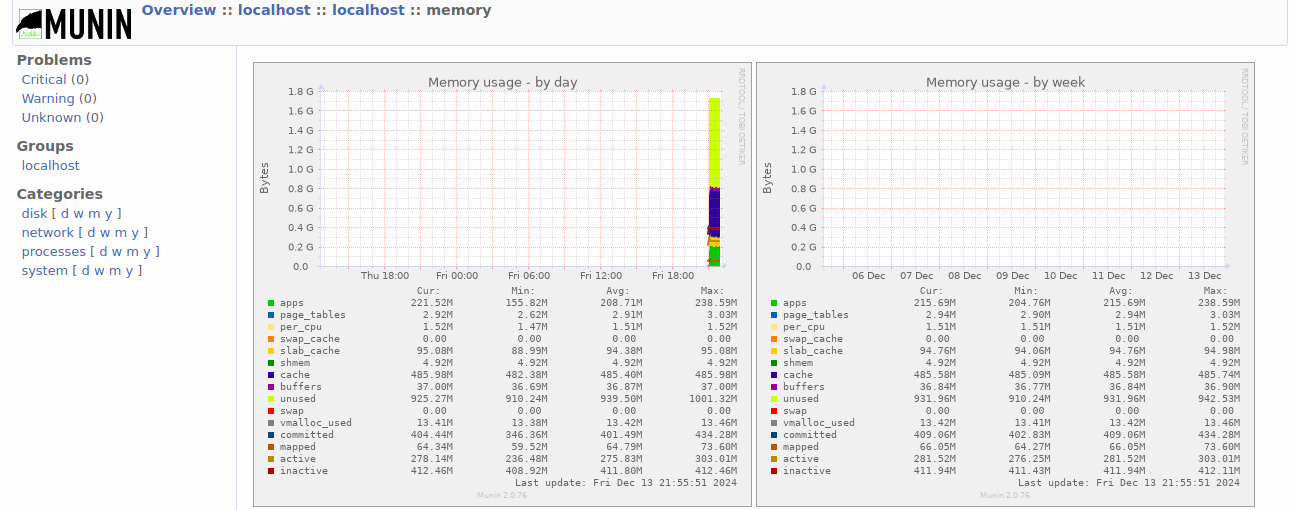
動作確認
「munin」が「munin-node」からデータを収集する時間(5〜10分ほど)を待ってから、Webブラウザで下記アドレスにアクセスして「Munin」のグラフが表示されるかの確認を行ってください。
http://サーバ名/munin
自分用メモ1 Munin用ルートディレクトリを変更するとエラーが発生(解決出来ず)
「Munin」のドキュメントルートを初期設定である「/var/www/html/munin」から「/usr/share/nginx/munin」へ変更したくて、下記のようにディレクトリを作成。
# mkdir /usr/share/nginx/munin
# chown munin:munin /usr/share/nginx/munin
「/etc/nginx/conf.d/munin.conf」ファイルに設定されている「Munin」のドキュメントルートを「/usr/share/nginx/munin」へ変更。
server {
    listen      80;
    server_name サーバ名;
    root        /usr/share/nginx/munin;

    location /munin/static/ {
        alias   /etc/munin/static/;
    }
#####   以下省略   #####
「/etc/munin/munin-conf.d/local.conf」に「htmldir /usr/share/nginx/munin」の設定を追加。
# Example host tree with localhost node. Configure your nodes here.
htmldir /usr/share/nginx/munin
graph_strategy cgi
html_strategy cgi
cgiurl_graph /munin/graph

[localhost]
    address 127.0.0.1
    use_node_name yes
そうすると、「munin-cron」が実行される際に下記のようなエラーが発生するようになりました。
Dec 13 15:00:07 localhost munin-cron[10962]: [ERROR] Could not copy contents from /etc/munin/static/ to /usr/share/nginx/munin at /usr/share/perl5/vendor_perl/Munin/Master/HTMLOld.pm line 795.
「/etc/munin/static/」が「/usr/share/nginx/munin」にコピーできないというエラーなので、試しに「/usr/share/nginx/munin」ディレクトリのパーミッションを777に変更してもエラーは改善されませんでした。
muninユーザで「cp -r /etc/munin/static/ /usr/share/nginx/munin」を実行すると問題ないくディレクトリのコピーは行われるのですが…
「Nginx」と「munin」の設定を初期設定である「/var/www/html/munin」に戻すとするとエラーは解消されましたが、結局原因は突き止められずです。
納得行かないけどそこまで時間をかける必要性もなかったため、とりえあえずエラーなく動作する状態のこの設定でMuninを運用することにしました。
なんか悔しいな。
自分用メモ2 手動でmunin-cronを実行する方法
手動で「munin-cron」を実行したい場合は、下記の方法で行うことが出来ます。
# su - munin --shell=/usr/bin/munin-cron
コメント